Browser-based pixel art tools for a first sprite
Build a small pixel art workflow in your browser. Choose a palette, draw a 16×16 sprite, animate four poses and check the exported files.
On this page
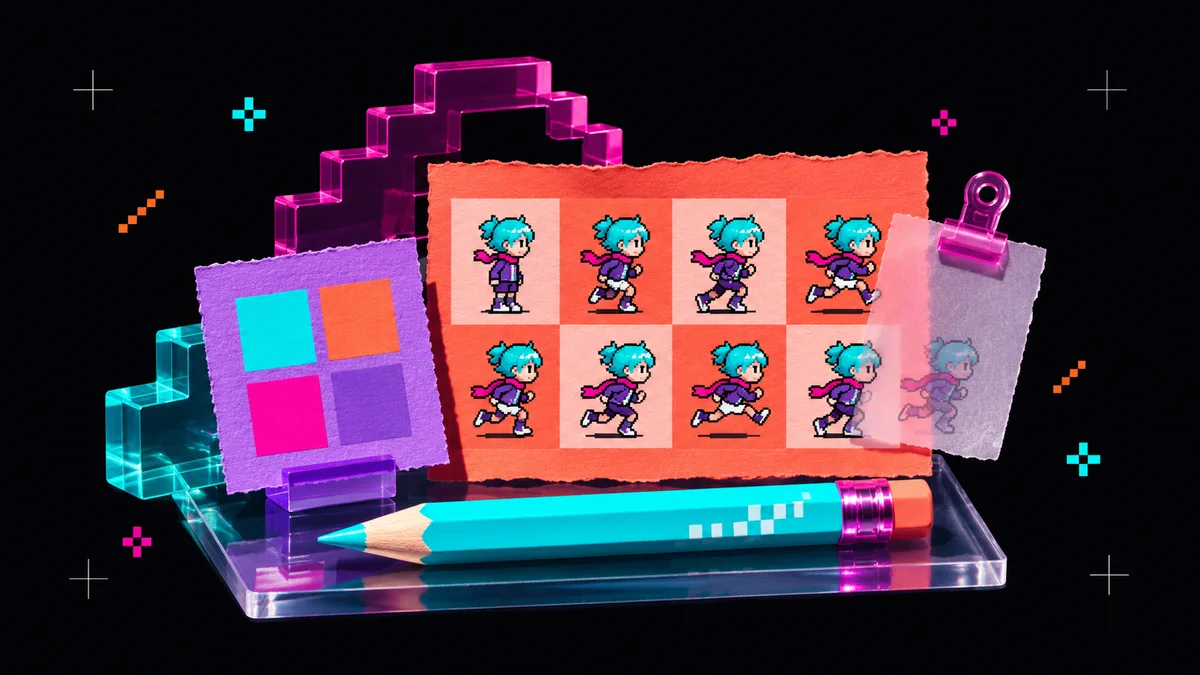
A useful set of browser-based pixel art tools should take you from a colour choice to a file you can use. Try that journey with one small asset. This exercise makes a 16×16 character, gives it four poses and exports a loop. You will need a palette, a pixel editor and somewhere to preview the result. The full aukimi Pixel module covers the drawing and animation stages, with sprite-sheet and game-asset workflows when you want to continue.
Pick four colours and give each one a job
Start with one dark colour for the outline, a middle tone for the body, a lighter highlight and an accent. Write down their colour codes. Keep the background transparent. A small palette makes it easier to see whether a new pixel improves the silhouette or simply adds noise.
You can experiment with the aukimi colour palette generator or browse the Lospec Palette List. Lospec offers palette downloads in formats including PNG, HEX and GPL. Pick the format supported by your editor, or enter the four codes manually. Keep a copy with the project so the next asset uses the same colours.
Draw a sprite that reads at its original size
Create a 16×16 canvas. Draw a character with a rounded rectangular body, two eyes and two short feet. Use a one-pixel brush and keep its silhouette away from the canvas edge. Work at a large zoom to place the pixels, then return to 100% to judge the shape. A character that reads clearly at 16×16 gives you a useful starting point for animation.
Put the character on its own layer in aukimi Pixel. Add a separate shadow if you want one, and name the layers before duplicating frames. This keeps the shadow stationary while the body moves. Our 16×16 heart tutorial provides a grid-based exercise if you would prefer a fixed pattern for your first drawing.
The free pixel art tool is another starting point for a static drawing and PNG export. Choose the full Pixel module for the animation steps below. For a comparison of other editors, read our guide to browser-based pixel art editors.
Make four poses and tune their timing
Duplicate the first frame three times. Keep the feet in the same horizontal position and move only the character layer. Use onion skinning to compare each pose with its neighbour. Try this short bounce as a starting point.
| Frame | Change from the first pose | Duration |
|---|---|---|
| 1 | Resting on the ground | 140 ms |
| 2 | Body moves up one pixel | 70 ms |
| 3 | Body moves up two pixels | 120 ms |
| 4 | Body returns to one pixel up | 70 ms |
Play the four frames in order. They form a 400 ms loop. The longer holds make the resting pose and the top of the jump visible. If the character drifts sideways, compare the left edge in each frame. If the motion feels stiff, change one duration and preview again before drawing extra frames. The four-frame animation tutorial walks through a similar exercise in detail.
Export for sharing and for the game
Export an animated GIF to preview the loop. For a game, export a sprite sheet and the animation data your engine needs. Pixel supports sheets and atlas JSON alongside animated image formats. Keep the editable project as well. The Pixel documentation describes the available exports.
Open the result in its destination. Inspect transparency, frame order and timing. For sharing, enlarge the image by a whole-number factor such as 8× so each original pixel becomes an equal block. In a game scene, check the character against the background at the intended camera scale. Save those settings with the project, then use the same small workflow for the next sprite.